Running a PVM Policy Import End to End
Overview
This guide explains how to complete a PVM policy import from start to finish, from uploading the source file to verifying the imported data in ViSN.
Before You Start
- Ensure the source file is available:
pvmFleetFile.csv
- Ensure the import schedulers have already been created.
- For scheduler setup steps, see Creating PVM Policy Import Schedulers.
- Ensure sub-customers exist in ViSN if the file uses
location(Purchase Location Code).
Step 1: Upload the File
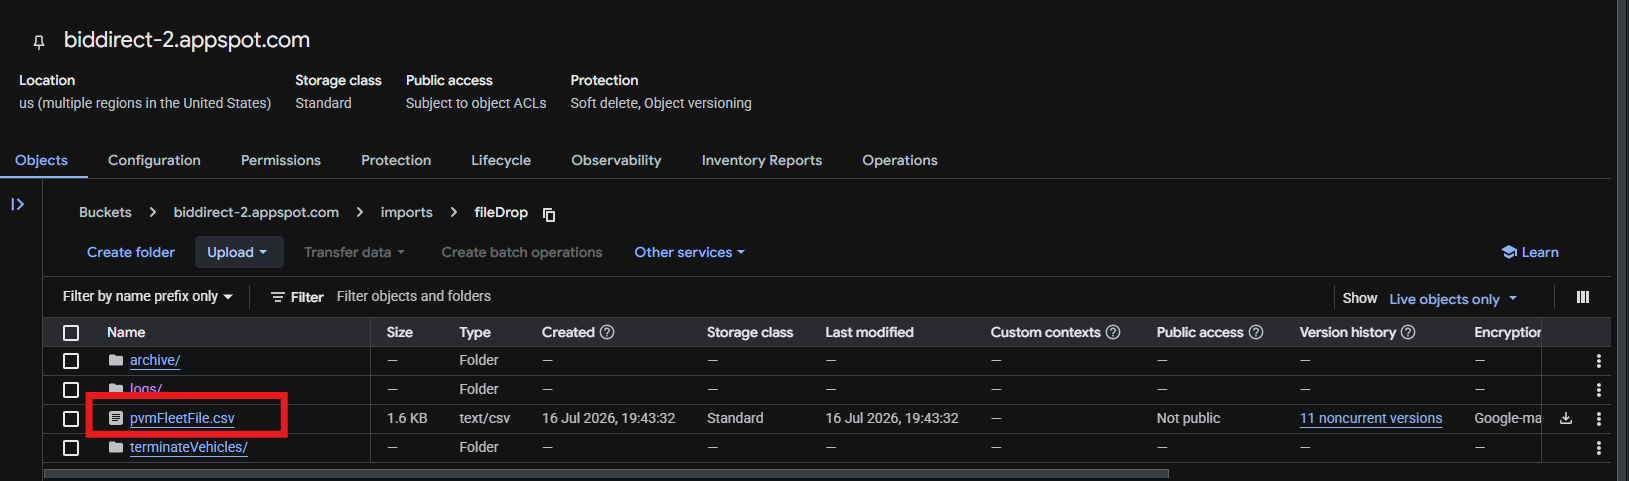
- Open the correct storage bucket for the target environment.
- Navigate to
imports/fileDrop/. - Upload
pvmFleetFile.csv. - Confirm that the file is present before continuing.
Step 2: Run the Fleet File Import
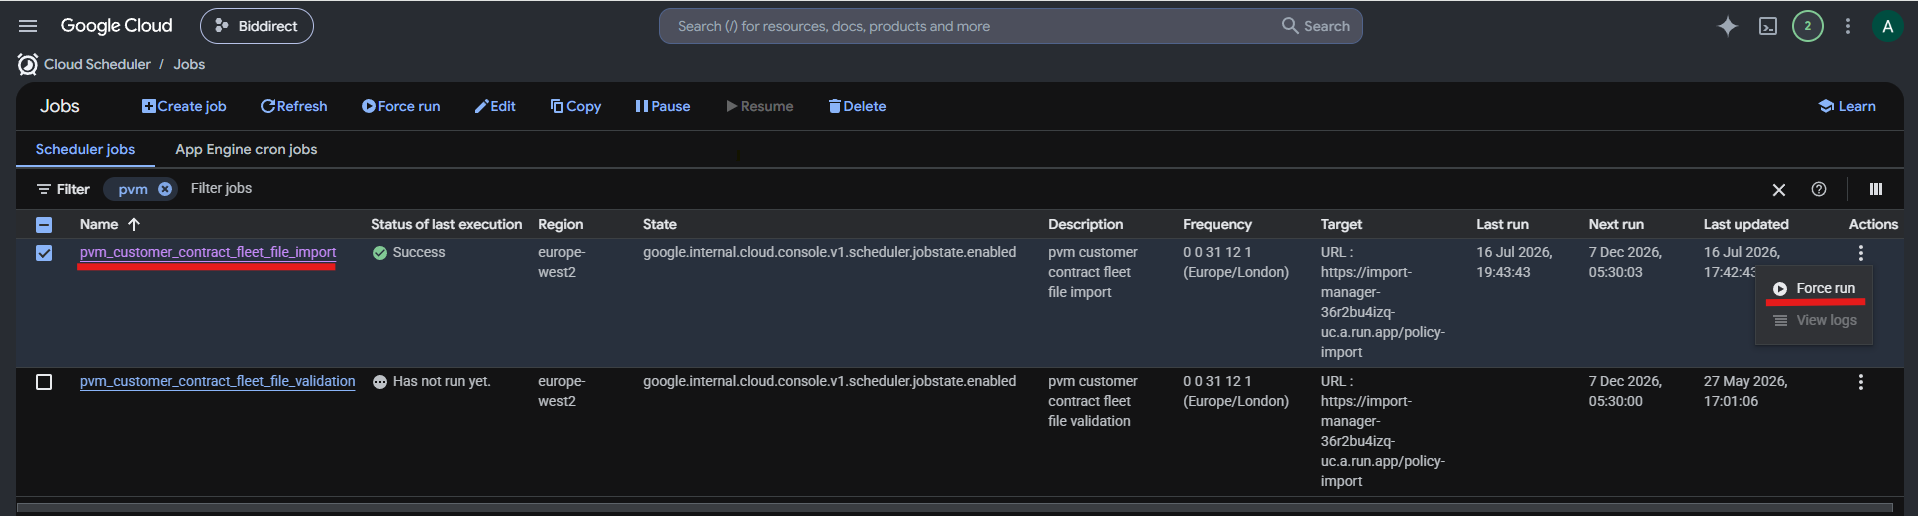
- Open Cloud Scheduler.
- Find the
pvm_policy_fleet_file_importjob. - Run the scheduler.
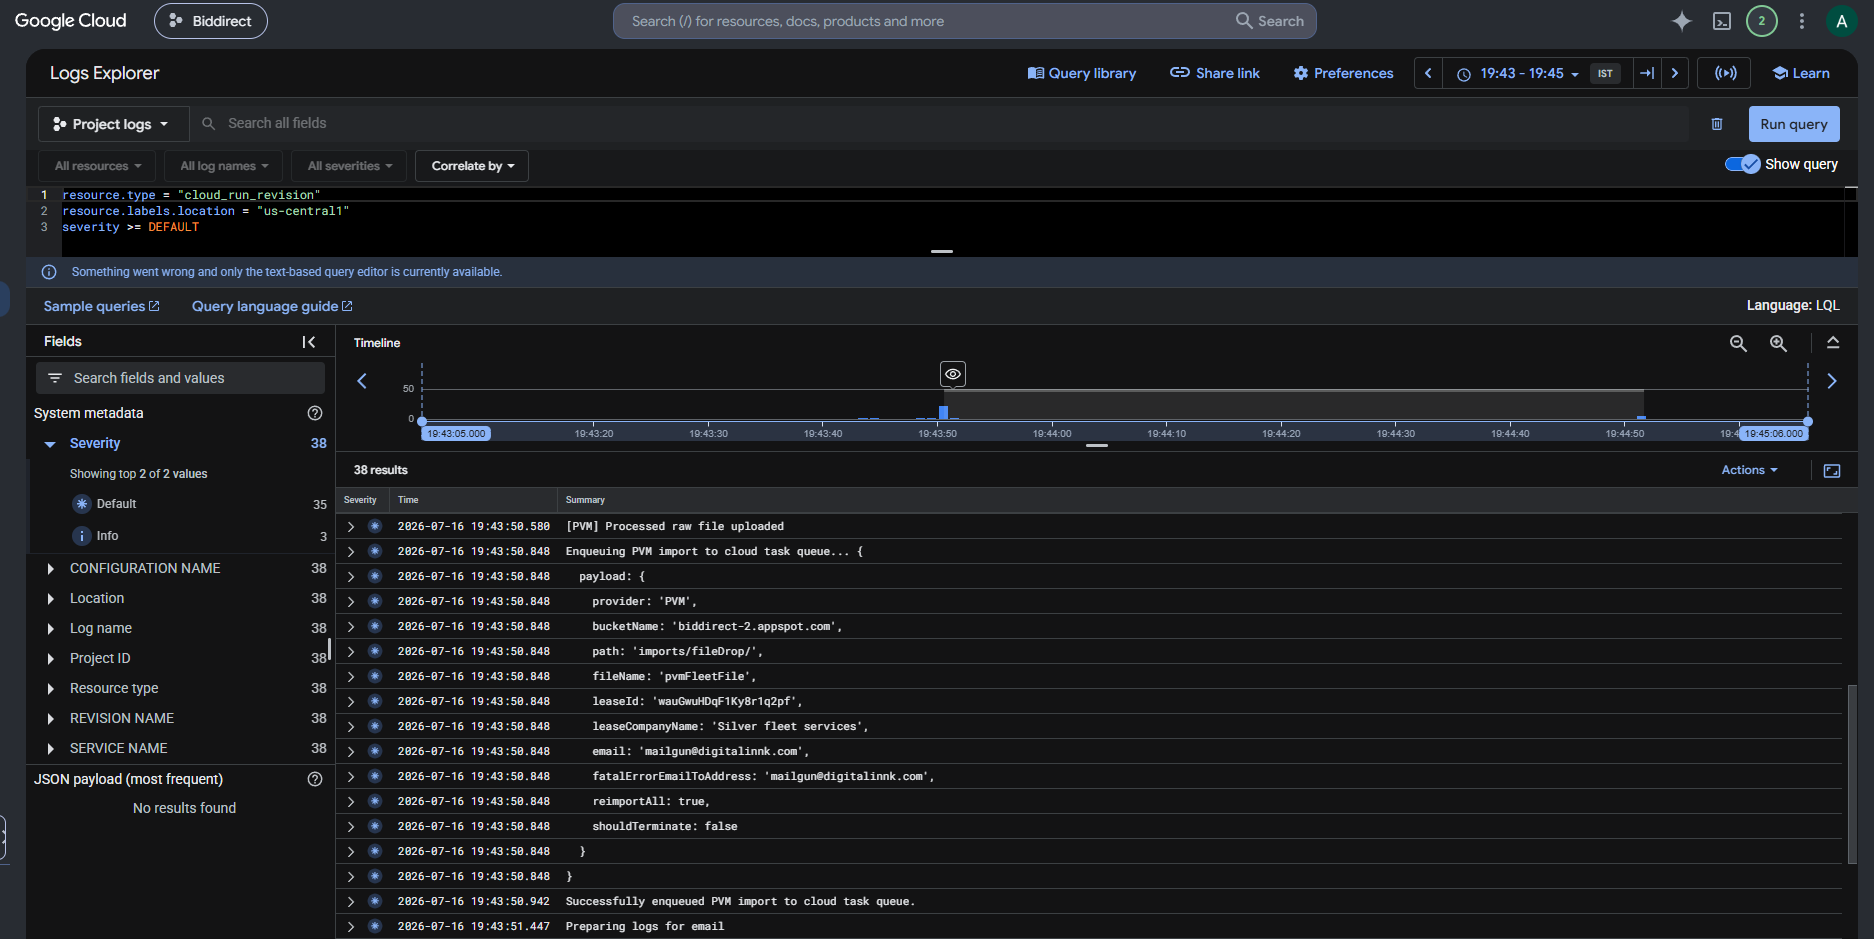
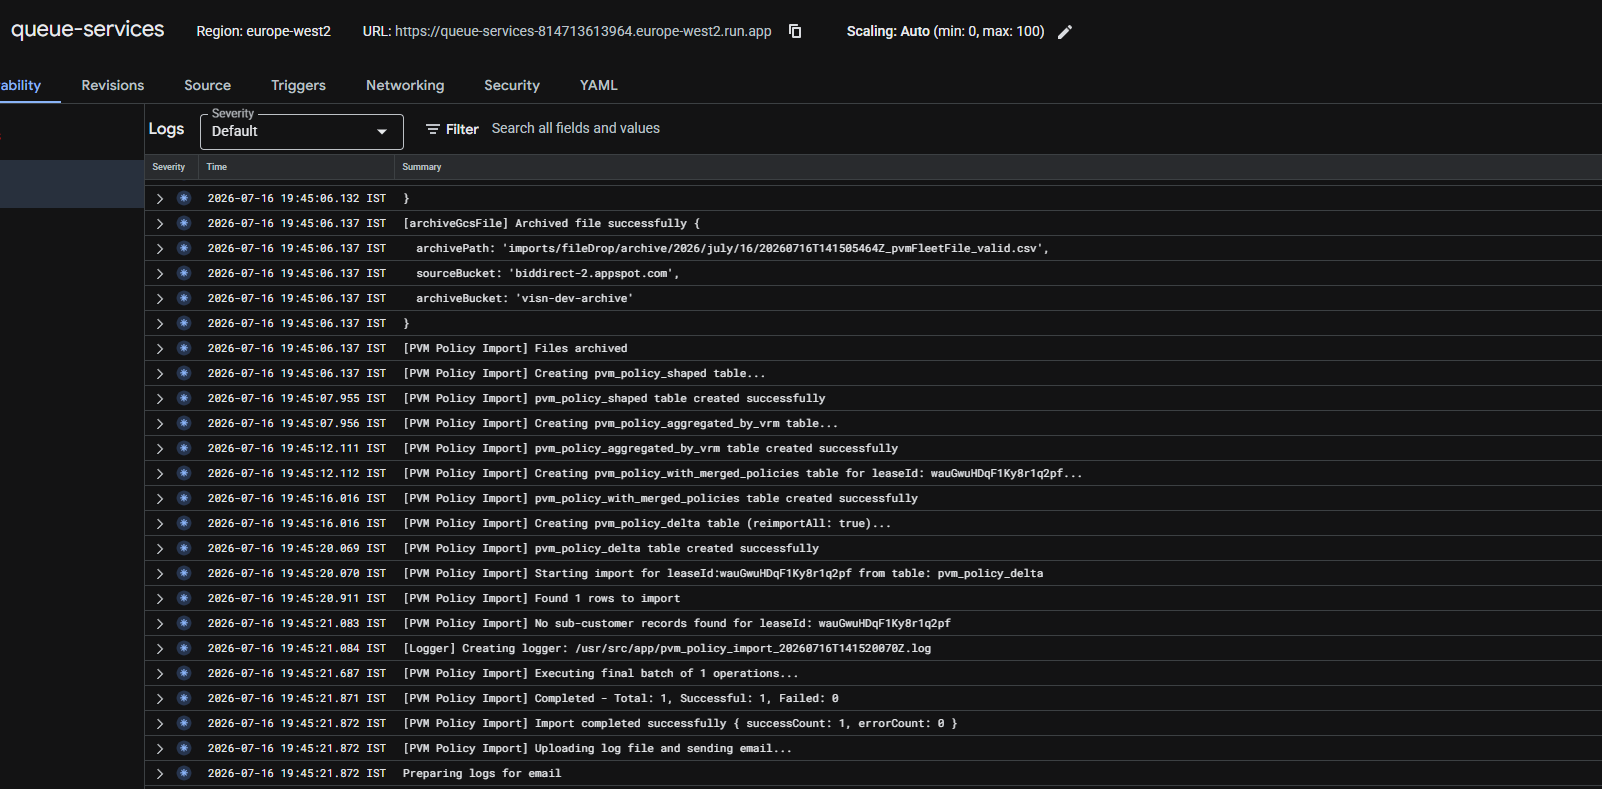
- Wait for the job to finish.
- Confirm that the job completed successfully before continuing.
Step 3: Log in to ViSN
- Log in to ViSN as the customer.
- Open the correct customer account or lease context.
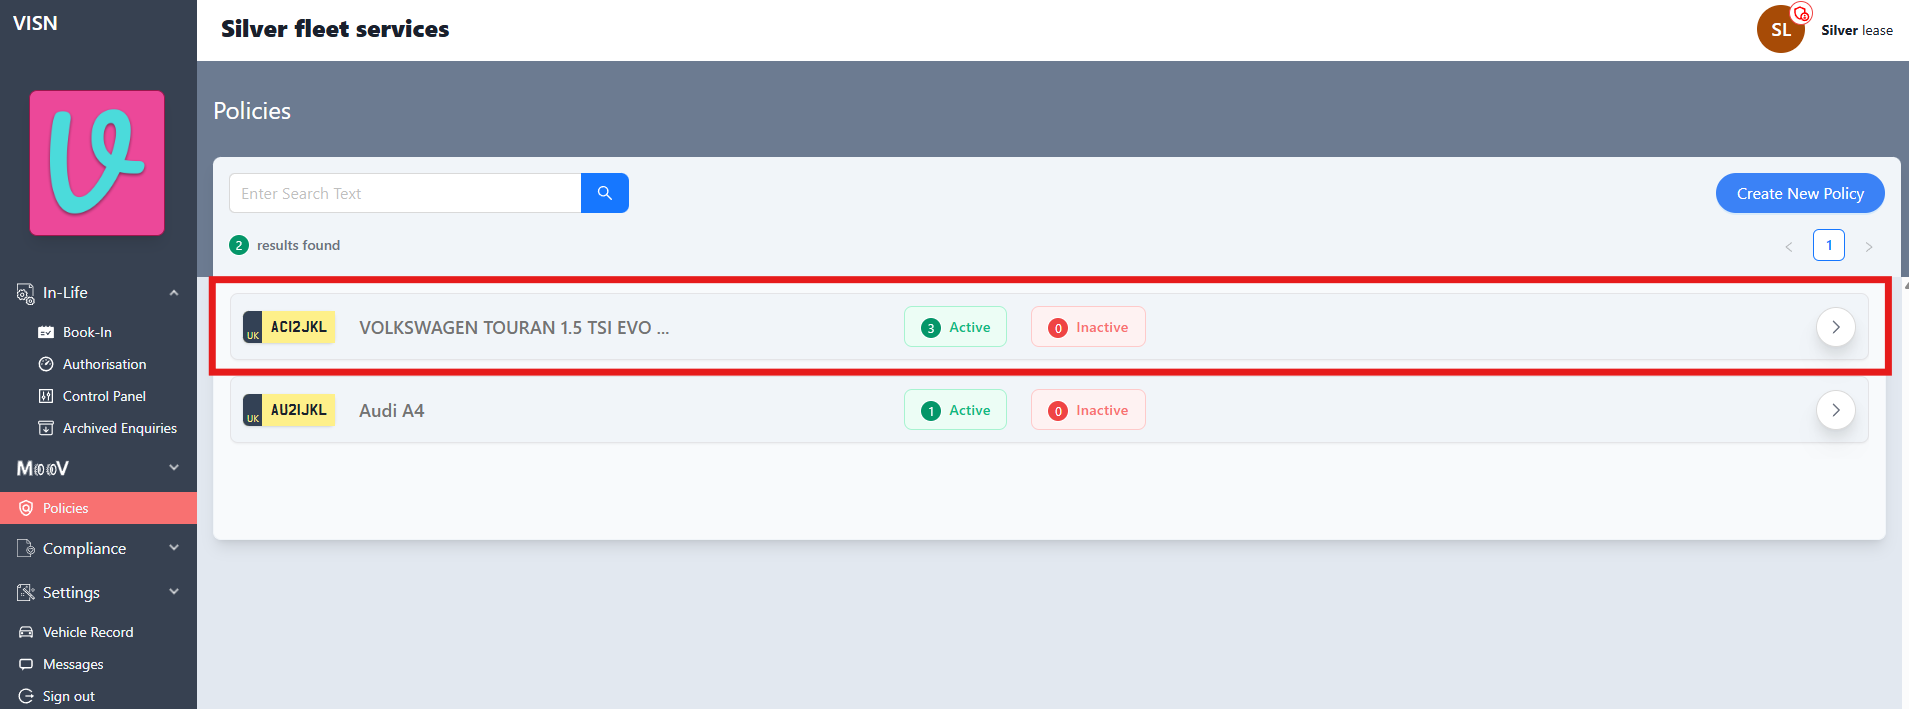
Step 4: Open the Policies Page
- Navigate to the Policies page in ViSN.
- Open the policy list for the relevant lease or customer.
Step 5: Confirm the Imported Vehicle Is Visible
- Search by the
VINof one of the vehicles included in the import file. PVM uses VIN as the primary vehicle key; theVRMremains available as vehicle information. - Confirm that the vehicle is listed on the Policies page.
- If the vehicle is not visible, recheck the import status and logs before continuing.
Step 6: Open the Policy Details
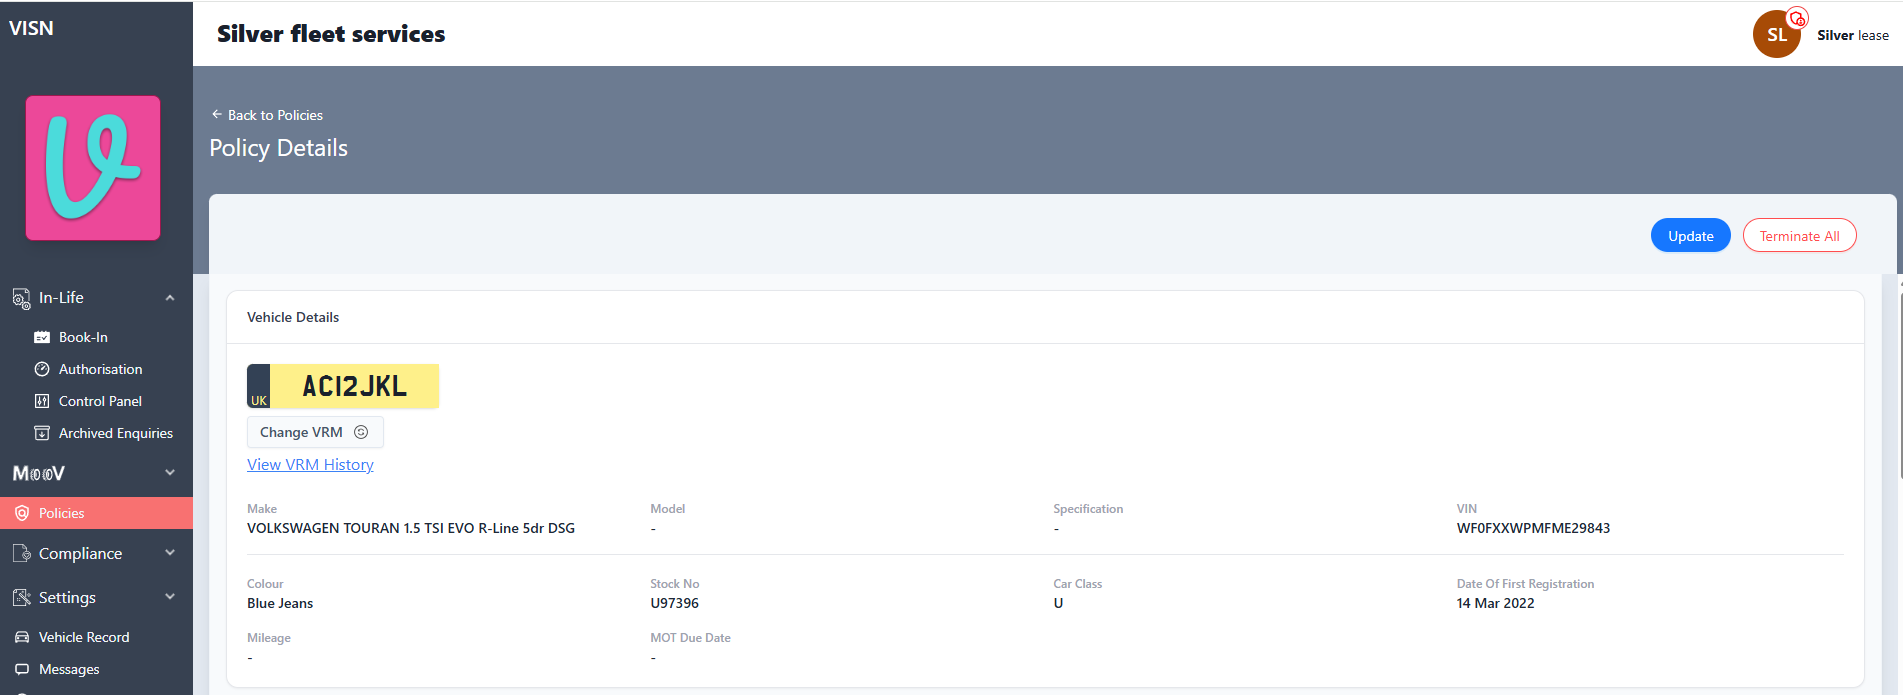
- Click
Viewfor the imported vehicle. - Open the policy details page.
- Confirm that the page loads correctly for the selected vehicle.
Step 7: Verify the Imported Policy Data
- Confirm that the vehicle details are correct.
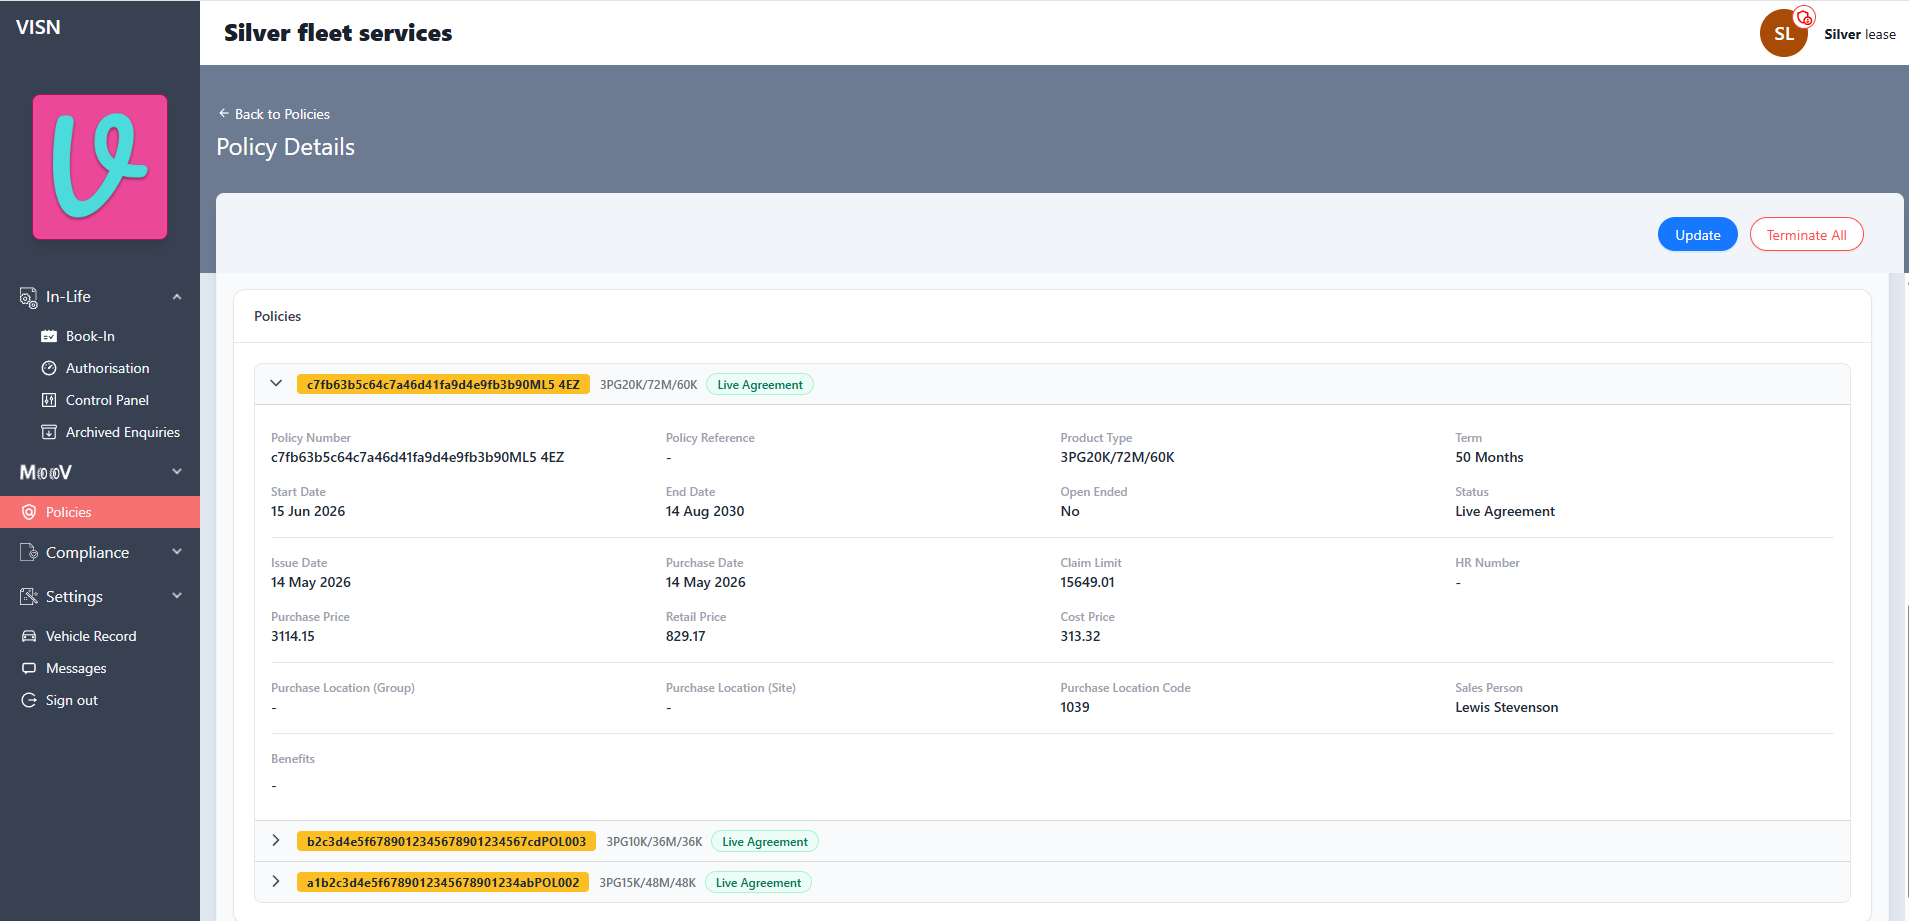
- Confirm that the expected policy records are present.
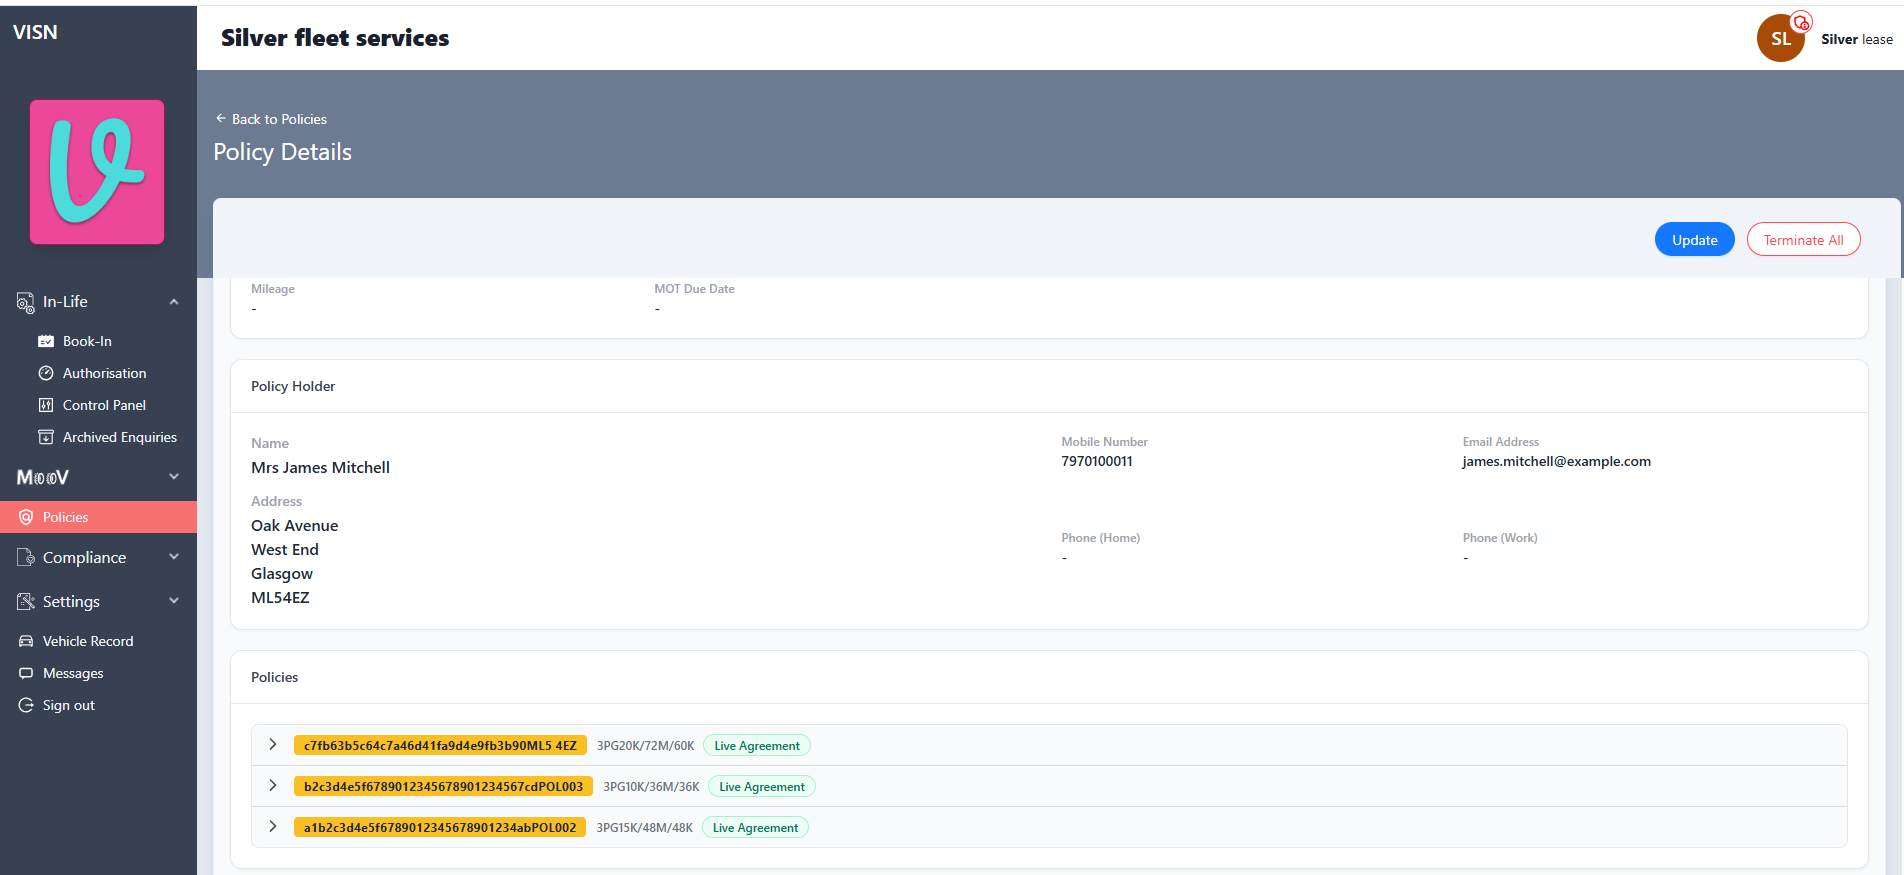
- If the source file contained multiple policies for the same vehicle, confirm that they appear under the same vehicle record.
- Confirm that the policy holder details are correct where applicable.
- If existing policy holder values were present in ViSN before the import, confirm that they were not overwritten by the import file.
Status: Pending Approval
Category: Protected
Authored By: Aditya on Jul 16, 2026